
How to Prepare for a Lip Blushing Session (Complete Guide for Beauty Enthusiasts)
Dec 14, 2025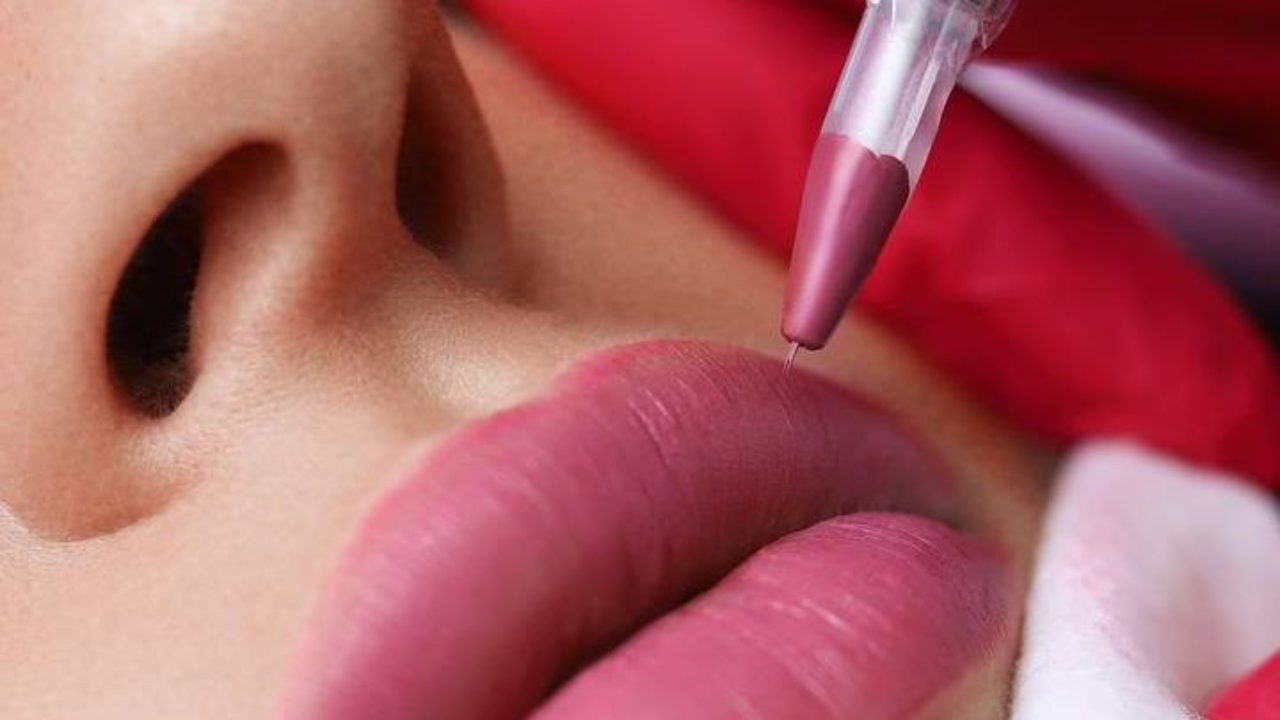
Lip blushing has become one of the most in-demand beauty treatments for achieving soft, natural, and effortlessly enhanced lips. Whether you want to add subtle definition, boost your natural color, or wake up with a polished, “your lips but better” look every day, lip blushing offers a long-lasting solution that fits almost anyone’s lifestyle.
But here’s something many first-timers don’t realize:
Your preparation before the appointment dramatically affects your results.
In fact, knowing how to prepare for a lip blushing session is just as important as choosing a skilled artist. Proper preparation not only improves comfort and healing but also ensures your pigment takes evenly, your healing process is smooth, and your final lip color looks exactly how you envisioned.
This expert-level guide walks you through everything a beauty enthusiast needs to know before their first lip blushing appointment — from skincare steps and product restrictions to what to expect the day before, the day of, and the days after.
Let’s dive in.
What Is Lip Blushing — and Why Preparation Matters
Lip blushing is a semi-permanent cosmetic tattoo technique designed to enhance the natural color, shape, and definition of your lips. Unlike traditional tattooing, lip blushing uses softer pigments and gentle shading to create a natural, airbrushed wash of color that looks beautifully subtle.
The Benefits of Proper Preparation Before Lip Blushing
Understanding how to prepare for a lip blushing session is crucial because:
- It helps your lips retain pigment better
Hydrated, exfoliated lips allow pigment to implant evenly and heal vibrantly. - It reduces the risk of irritation or complications
Certain activities, skincare ingredients, and habits can trigger sensitivity or swelling. - It shortens healing time
The better your skin barrier is maintained beforehand, the faster you’ll heal. - It makes the appointment more comfortable
Smooth, moisturized lips respond better to numbing and reduce sensitivity. - It helps your artist deliver the best possible result
A well-prepped canvas = cleaner shading, crisp definition, and longer-lasting results.
Proper preparation is not optional — it is essential.
Understanding the Lip Blushing Process Before You Prepare
Before you prepare for your appointment, it helps to have a clear understanding of what actually happens during lip blushing.
Consultation and Color 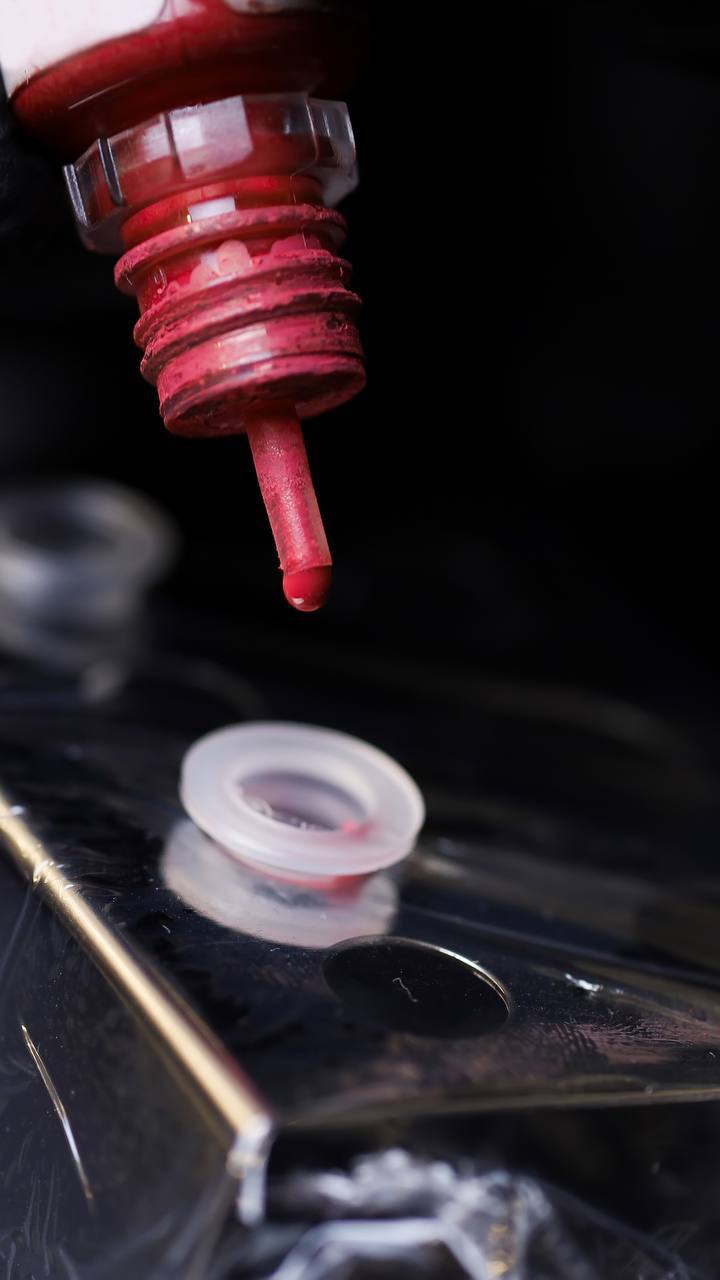 Selection
Your appointment always begins with a consultation. Your artist will:
- Analyze your natural lip color
- Discuss undertones and personal preferences
- Review healed results
- Show you color options based on your goals
Lip Mapping and Shape Design
Your artist will outline your lip shape to enhance symmetry while still maintaining a natural look. Great lip blushing focuses on enhancing, not dramatically altering, your natural form.
Numbing and the Procedure
A topical numbing agent is applied to ensure maximum comfort. The treatment generally feels like a light scratching or brushing sensation.
Immediate Aftercare & Healing Overview
Right after your appointment, your lips will appear bold—but they will soften by 30–50% once healed. This natural fading is expected and beautiful.
Now that you understand the process, let’s talk preparation.
How to Prepare for a Lip Blushing Session — The Complete Guide
Whether this is your first time or your fifth, these preparation tips will set you up for the best results possible.
One Week Before Your Lip Blushing Appointment
Hydrate, Hydrate, Hydrate
The number one preparation tip for lip blushing is hydration. Well-hydrated lips:
- Heal faster
- Absorb pigment better
- Reduce flaking
- Minimize irritation
Drink plenty of water and apply a nourishing lip balm daily. Avoid petrolatum-only balms — instead use ones with humectants like hyaluronic acid or emollients like shea butter.
Exfoliate Gently
Dry, flaky lips create uneven healed results.
EXFOLIATE 2–3 times in the week leading up to your session using:
- A sugar lip scrub
- A soft toothbrush
- A damp washcloth
Avoid aggressive scrubs or chemical exfoliants — your lips should never be raw.
Avoid Retinol and Strong Acids Around the Mouth
Stop using:
- Retinol or tretinoin
- Glycolic or lactic acid
- High-strength exfoliants
These ingredients thin the skin and may cause unnecessary sensitivity during the procedure.
Pause Professional Treatments
Avoid:
- Chemical peels
- Laser treatments
- Microneedling
- Lip filler touch-ups
If you plan to get filler, do it 2–4 weeks before lip blushing.
72 Hours Before Your Lip Blushing Session
Avoid Sun Exposure and Tanning
Sunburned lips cannot be tattooed.
Sun exposure also dries and irritates the lips, making the procedure more uncomfortable.
Use SPF lip balm and avoid tanning beds or direct sun.
No Alcohol, Aspirin, or Ibuprofen
These can thin the blood, causing:
- Excess bleeding
- Difficulty implanting pigment
- Uneven healing
- Poor color retention
Choose acetaminophen if you need pain relief.
Limit Caffeine the Day Before
Caffeine can increase sensitivity and dryness. Limit your intake to avoid jitteriness and swelling.
The Day Before Your Lip Blushing Appointment
Gently Exfoliate One Last Time
A light exfoliation the day before helps ensure a smooth, even surface.
Apply a Hydrating Lip Mask or Balm
Thick hydrating treatments help lock in moisture.
Avoid Spicy or Salty Foods
These can irritate the lips right before your appointment.
Make Sure You Are Not Sick or Feeling Run Down
A strong immune system leads to better healing and pigment retention.
How to Prepare the Morning of Your Lip Blushing Session
Keep Your Lips Bare
Do NOT apply:
- Lipstick
- Gloss
- Balm
- Foundation over the lips
Come with clean, dry, product-free lips.
Eat a Light Meal Before Your Appointment
You’ll be lying still for up to two hours. Eating beforehand helps maintain stable blood sugar, reducing lightheadedness or sensitivity.
Avoid Excess Caffeine
Again, limit caffeine the morning of your appointment to prevent unnecessary swelling.
Bring Photos of Lip Colors or Styles You Love
Visual references help your artist understand your desired lip shade and saturation level.
Cold Sore Prevention — A Critical Step Many People Skip
If you have EVER had a cold sore in your life (even once), you must take preventative antiviral medication such as Valtrex or acyclovir.
Lip blushing can trigger outbreaks even if you haven’t had one in years.
A flare-up can:
- Distort healed results
- Break down pigment
- Cause scarring
- Prolong healing
Talk to your doctor about a prescription before your appointment.
What to Expect During the Lip Blushing Appointment

Here’s what happens once you arrive prepared:
Consultation Review
Your artist will review:
- Any contraindications
- Your prep steps
- Your goals
- Your desired color
Lip Mapping and Symmetry Check
They will outline your lips to create the ideal shape while keeping your natural form intact.
Numbing Application
Most artists use topical numbing before and throughout the procedure.
Pigment Implantation
Using a PMU machine, your artist creates soft shading to enhance color and definition.
Immediate Results
Your lips will look bold — but this is temporary.
The color will soften dramatically during healing.
The Benefits of Proper Preparation for Lip Blushing
When you properly prepare for a lip blushing session, you set yourself up for the best possible outcome.
1. Better Pigment Retention
Hydrated, exfoliated lips absorb pigment more effectively, resulting in:
- Even color
- Smooth saturation
- Longer-lasting results
2. Reduced Sensitivity
Avoiding irritants, fillers, and sun exposure reduces discomfort during the procedure.
3. Faster Healing
When your lips are healthy and nourished beforehand, the healing process is quicker and smoother.
4. Lower Risk of Irritation or Swelling
Proper preparation minimizes common side effects such as:
- Excessive swelling
- Tenderness
- Dry patches
5. More Predictable Final Results
Well-prepared lips heal cleaner, softer, and more consistent.
6. Higher Satisfaction With Your Outcome
The more effort you put into preparation, the more beautiful — and longer-lasting — your lip blush results will be.
Common Mistakes to Avoid Before Lip Blushing
Don’t Show Up with Chapped Lips
This is the #1 reason artists reschedule clients.
Don’t Skip Cold Sore Medication
Even if your outbreaks are rare.
Don’t Get Lip Filler Too Close to Your Appointment
Timing is everything.
Don’t Drink Alcohol or Take Blood Thinners
This affects pigment implantation.
Don’t Over-Exfoliate
Your lips should never be raw or peeling.
Final Thoughts — Preparing for Your Lip Blushing Session Like a Pro
Learning how to prepare for a lip blushing session is one of the most important steps you can take as a beauty enthusiast considering this treatment. By hydrating, exfoliating gently, avoiding irritants, and following all pre-care guidelines, you set the foundation for beautifully enhanced lips that heal evenly and last longer.
Great lip blushing starts long before you sit in the chair.
And with the right preparation — your results can be nothing short of stunning.
